Benefits of Flat Paint for Bathroom Ceilings

Flat paint is an excellent choice for bathroom ceilings, offering several advantages over other finishes. Its matte finish provides a subtle, understated look that complements various bathroom styles. Additionally, flat paint effectively conceals minor imperfections in the ceiling, creating a smooth and visually appealing surface.
Hiding Imperfections
Flat paint’s matte finish effectively hides imperfections in the ceiling, making it a preferred choice for bathrooms, where uneven surfaces are common. The absence of sheen prevents light from reflecting off the surface, minimizing the visibility of minor flaws. This characteristic creates a more uniform and visually appealing ceiling, enhancing the overall aesthetic of the bathroom.
Minimizing Glare
Flat paint’s matte finish significantly reduces glare, making it ideal for bathroom ceilings. Unlike glossy or semi-gloss paints that reflect light, flat paint absorbs it, minimizing the amount of glare that can be distracting or uncomfortable, especially when using a mirror or applying makeup. This characteristic contributes to a more relaxing and comfortable bathroom environment.
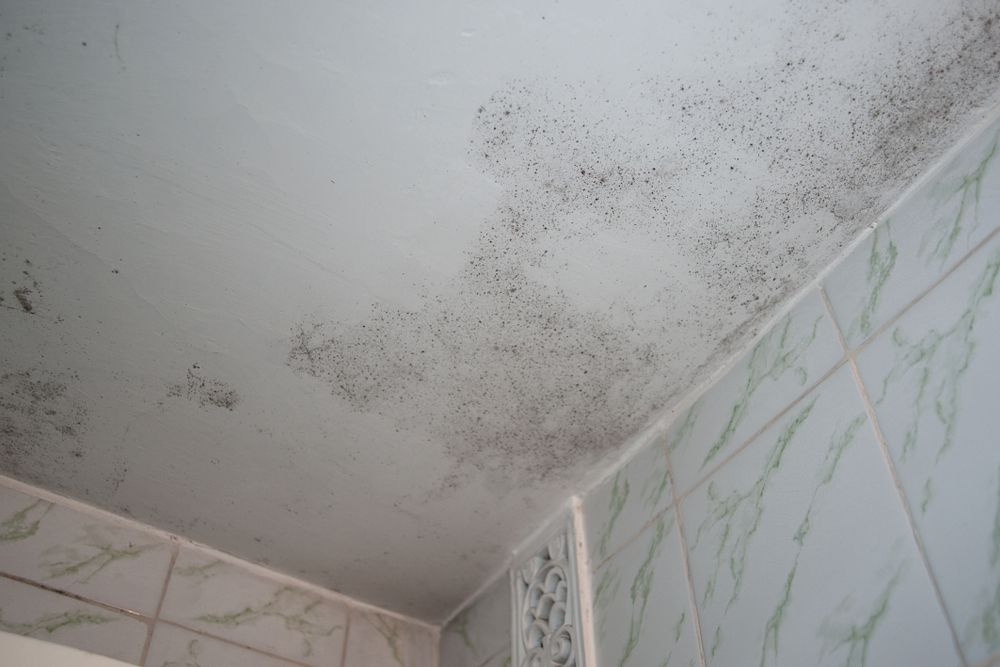
Cleaning and Maintenance
Flat paint is relatively easy to clean and maintain, making it a practical choice for bathrooms. Its matte finish is less susceptible to showing dirt and stains compared to glossy or semi-gloss paints. While flat paint may not be as durable as other finishes, it can be easily cleaned with a damp cloth and mild detergent, making it a suitable option for busy bathrooms.
Choosing the Right Flat Paint for Bathroom Ceilings

Choosing the right flat paint for your bathroom ceiling is crucial for a durable and aesthetically pleasing finish. Flat paint, with its matte finish, effectively hides imperfections and creates a soft, elegant look, but the bathroom environment presents unique challenges. You need to consider factors like moisture resistance, mildew resistance, and durability when selecting a flat paint for your bathroom ceiling.
Types of Flat Paint for Bathroom Ceilings
Different types of flat paint are available, each with its own characteristics and suitability for bathroom ceilings. The most common types include latex, acrylic, and oil-based paints.
- Latex Paint: Latex paint is a water-based paint that is popular for its ease of use, quick drying time, and low odor. It is also relatively affordable. Latex paint is a good choice for bathroom ceilings because it is mildew-resistant and breathable, allowing moisture to escape and preventing the growth of mold. However, latex paint may not be as durable as oil-based paint, especially in high-traffic areas.
- Acrylic Paint: Acrylic paint is a type of latex paint that is known for its excellent adhesion, durability, and moisture resistance. It is also a good choice for bathroom ceilings as it is mildew-resistant and easy to clean. Acrylic paint is a more premium option compared to standard latex paint.
- Oil-Based Paint: Oil-based paint is known for its durability and resistance to moisture and mildew. It is also a good choice for high-traffic areas. However, oil-based paint has a strong odor, takes longer to dry, and requires mineral spirits for cleanup. It is not as breathable as latex or acrylic paint, which can trap moisture and lead to mold growth. While it may be a good option for bathrooms that are well-ventilated, it is not as commonly used for bathroom ceilings as latex or acrylic paint.
Factors to Consider When Choosing Flat Paint for Bathroom Ceilings
When selecting flat paint for your bathroom ceiling, several key factors must be considered. These factors include:
- Moisture Resistance: Bathrooms are prone to moisture due to showers, baths, and humidity. Choosing a paint with excellent moisture resistance is essential to prevent peeling, cracking, and mold growth. Latex and acrylic paints are generally more moisture-resistant than oil-based paints.
- Mildew Resistance: Mold and mildew can thrive in damp environments like bathrooms. Selecting a paint with mildew-resistant properties is crucial to prevent these issues. Many latex and acrylic paints are formulated with mildewcide, which helps inhibit mold growth. Oil-based paints can also offer mildew resistance, but they are less breathable, which can contribute to moisture buildup.
- Durability: Bathroom ceilings are subjected to wear and tear from moisture, cleaning, and humidity. Choosing a durable paint that can withstand these conditions is essential. Acrylic paints are known for their excellent durability, while latex paints can also provide adequate durability. Oil-based paints are generally the most durable, but they are not as commonly used for bathroom ceilings due to their breathability issues.
Choosing the Right Paint Sheen and Color
The sheen of the paint refers to its level of glossiness. Flat paint has a matte finish that hides imperfections well. However, it is more susceptible to stains and dirt than higher-sheen paints.
- Sheen: For bathroom ceilings, a flat or eggshell sheen is typically recommended. Flat paint provides a smooth, elegant finish, while eggshell offers a slightly more durable option with a subtle sheen.
- Color: When choosing a color for your bathroom ceiling, consider the overall style and color scheme of the bathroom. Lighter colors can make the room feel larger and brighter, while darker colors can create a more intimate and cozy atmosphere.
Applying Flat Paint to Bathroom Ceilings
Applying flat paint to a bathroom ceiling requires proper preparation to ensure a smooth, even finish that lasts. This involves a series of steps, from cleaning the surface to applying the paint in a consistent manner.
Preparing the Bathroom Ceiling for Painting
Thorough preparation is crucial for a successful paint job. A clean and smooth surface allows the paint to adhere properly and creates a professional-looking finish.
- Clean the Ceiling: Start by removing any dust, cobwebs, or debris from the ceiling. Use a soft-bristled brush or a vacuum cleaner with an extension wand to reach all areas. You can also use a damp cloth to wipe down the ceiling, ensuring it is completely dry before proceeding.
- Patch any Cracks or Holes: Examine the ceiling for any cracks or holes. Use a patching compound or spackling paste to fill these imperfections. Apply the compound with a putty knife, ensuring it is level with the ceiling surface. Allow the compound to dry completely before sanding.
- Sand the Ceiling: Once the patching compound has dried, sand the ceiling to create a smooth surface. Use fine-grit sandpaper (120-grit) to smooth out any rough edges or imperfections. Be careful not to sand too aggressively, as this can damage the ceiling surface.
Applying Flat Paint to the Bathroom Ceiling, Flat paint for bathroom ceiling
After preparing the ceiling, you can begin applying the paint. Using the right techniques ensures a smooth and even finish.
- Protect the Area: Cover the floor and furniture in the bathroom with drop cloths or plastic sheeting to prevent paint splatters. Use painter’s tape to mask off any areas that you don’t want to paint, such as trim, windows, or light fixtures.
- Prime the Ceiling: Before applying the flat paint, prime the ceiling with a primer specifically designed for bathroom surfaces. Primer helps the paint adhere better and provides a smoother surface for painting. Apply the primer using a roller, ensuring even coverage. Allow the primer to dry completely before painting.
- Apply the Flat Paint: Use a roller with a nap length appropriate for the ceiling texture. A longer nap roller is suitable for textured ceilings, while a shorter nap roller works best for smooth ceilings. Load the roller with paint, avoiding overloading it. Start painting in the center of the ceiling and work your way out to the edges. Use smooth, even strokes, overlapping each stroke slightly. Apply thin coats of paint, allowing each coat to dry completely before applying the next. Two coats of flat paint are typically recommended for good coverage.
